Want to use the Patina web app to create a digital record for your car or vehicle? Here is our 2 minute guide to help you to get started:
Registering / Logging On
You can register and login at https://www.getpatina.com. Use your Twitter or Facebook account, or simply fill out your details on the registration form to create a new account and click register:
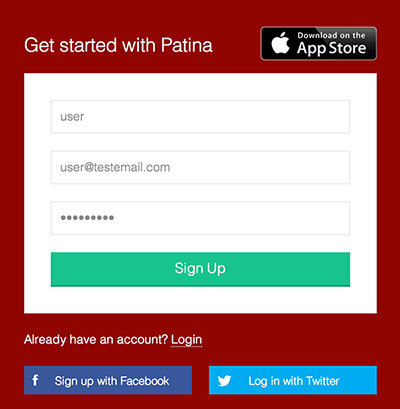
![]()
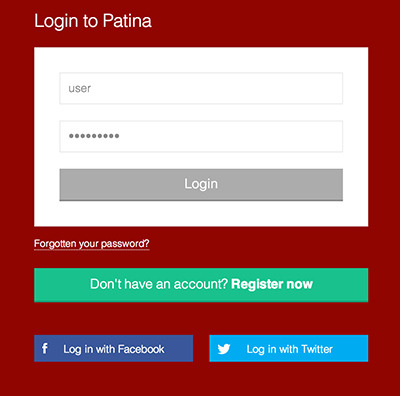
If you already registered, click 'Login' and enter your details.
When you first login you will be taken to the activity feed where you will see all of the records that other users have entered into Patina (and made public).
Anything that you can see you will be able to click on to view further or see the full details about the vehicle
Adding a Vehicle
To start capturing the history for your car, the very first thing that you will need to do is to set it up in the system. On the left hand menu click 'Add Vehicle':
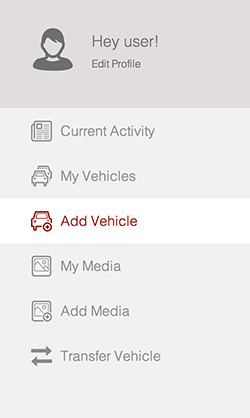
This will take you to a screen where you can enter the details of your car:
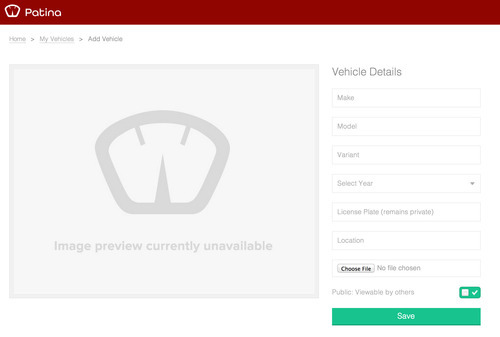
The only 2 pieces of data that are compulsory are the Make and License Plate, all other information is optional.
Make is the manufacturer e.g. Porsche
Model is the type of car e.g. 911
Variant is the type of model or edition e.g. Carrera 4
Year is the year of manufacturer
License Plate is the registration or license number of the vehicle. This will always remain private and will never be shown to anybody else.
Location is the general location of the vehicle. We recommend you limit this to town/city and country e.g. San Francisco, US
Next you can add a photo that will be used as the main image for your vehicle, wherever your car appears within Patina (assuming it is public), this photo will be shown.
Finally you can adjust the privacy settings of your car. Setting to public will mean that you car is visible to other users, setting to private will mean that only you can view. Please note that when you add records to your car you will be able to set privacy settings for the record, so you can have a public car and still keep sensitive records private.
Click 'Save' and wait for the confirmation that your vehicle has been created.
Perfect - you have now taken the first step to creating, preserving and enhancing your car's history. Next you will want to to start to add some records.
Adding a Record
Think of records as specific entries onto your vehicle's history. Use to backup your documents and add pictures and videos that support its history. Records are only limited by your own imagination, if it can be captured in a picture, video or document then it can be added. As the saying goes 'pictures are worth a thousand words' and in the case of car history the more records that are available, the more value you will create.
To add your first record click 'Add Media':
On the next screen enter the details of the media that you are adding:
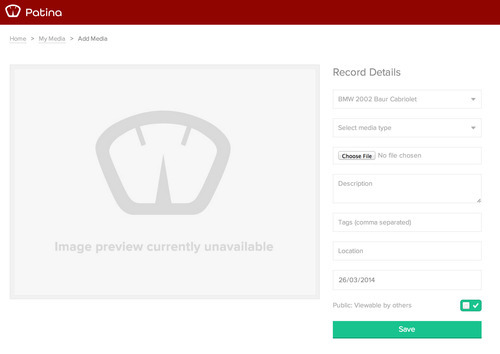
If you only have one vehicle in Patina then it will be automatically selected. If you have more then one car, use the first drop down to select which vehicle you want to add this record to.
Next select the type of media that you are adding, Image, Video or Document
Choose the the file that you would like to upload and then enter a description about the record. Add in as much information as you want, this will be be the key information that will be associated with the record.
Next add in any tags. Tags are similar to those used by apps such as Twitter and act as a way of grouping common records by a common term e.g. Restoration, Receipt or Service, Add in as many tags as you want.
Finally add in the location that is relevant to the record and a date for the record itself. For example for a receipt, enter the date of the receipt. This will control where in your vehicle's history the record appears.
Finally as when creating a vehicle, set whether you wish the record to be private (only you can see), or public (viewable by all).
Click Save to complete - Congratulations you have added your first piece of vehicle history!
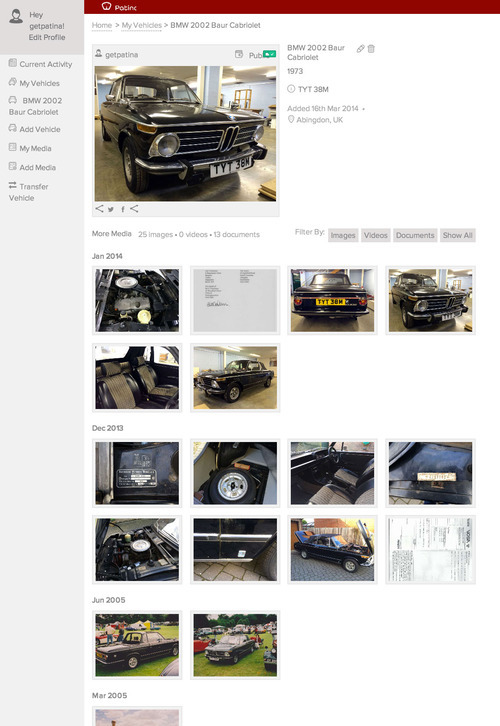
To view your car's full history at any point, simply select it from the left hand menu where you will be able to see everything that you have added. This page (which can be shared with others if it is public), becomes the definitive record for your vehicle.
Now that you know how to create vehicle history, our next articles will take you through how to share your records with others and how to transfer your vehicle to its new owner if you sell it on.